• Portfolio
  • Blog
  • Travel
    • Russia/Estonia
    • Istanbul
    • Hong Kong
    • India
    • Morocco
    • Thailand
    • Italy
    • Vietnam
    • Spain/Portugal
    • Egypt
    • United Arab Emirates
    • Ireland
    • Myanmar
    • Croatia
    • Mauthausen Concentration Camp
  • Headshots
  • Fine Art Prints
  • New Work
  • About
  • Instagram
  • Contact
Assignment Photography for Corporate America
  • Portfolio
  • Blog
  • Travel
    • Russia/Estonia
    • Istanbul
    • Hong Kong
    • India
    • Morocco
    • Thailand
    • Italy
    • Vietnam
    • Spain/Portugal
    • Egypt
    • United Arab Emirates
    • Ireland
    • Myanmar
    • Croatia
    • Mauthausen Concentration Camp
  • Headshots
  • Fine Art Prints
  • New Work
  • About
  • Instagram
  • Contact

Innsbruck SSBR Workshop Oct. 8 & 9

Wow! Innsbruck.  I was here last year when we had a very large snow storm, this year the weather was just great.  Thanks to all the participants for attending the SSBR workshop. Here is a look at what we shot as well as students work.


Here is the same image shifted to a white balance of Tungsten.

Here is set up shot below.

Here is the set up shot as well as one with a black background and a blue light added.

We found a nice wall inside our location to shoot as well.

One last on before we look at some student work.

Student work.

Thanks once again for coming out to the workshop, I hope to see you next year.

Thursday 10.16.14
Posted by David Tejada
 

Puchberg SSBR Workshop Oct. 5 & 6

What a joy to be back here again at Puchberg.  We had a wonderful workshop with 18 participants for the two day workshop. Our location is this fantastic old (everything in Europe is old) building to photograph in and around. 


We started the first day with lighting theory during the morning session and then spent the rest of the day shooting lighting examples. Here are some of the images created the first day.

As you can see from the set-up photo above, I used one Speedlight to do the work of two. The flash was placed behind my subject, providing a rim/hair light before bouncing off the wall for the key light.

By placing my rip stop nylon fabric on a glass door and projecting my flash thru it, I can create a wonderful soft light on my subject.

Here a classic clamshell lighting set-up for a glamour look.

Stepping out side in open shade and shifting the WB to tungsten produced the above image.  I want to thank everyone who attended the workshop, it was a pleasure to spend 2 wonderful days with you.

We are now on our way to Innsbruck, Austria for another 2 day workshop. I'll post some of the images that the students produced during the second day just a bit later.  See you in Innsbruck.

As promised, here is a collection of my students work from the workshop.  On the second day of the workshop, I send the student out for a one hour time period in groups of three to practice what they learned the previous day. Each participant would be the photographer, the other an assistant and the third as the model.  I am so very proud to share their outstanding work... great job everyone!

Tuesday 10.07.14
Posted by David Tejada
Comments: 2
 

Accurate Color

Do yourself a favor, get calibrated!  Color calibrate your monitor at the very least and if you produce your own prints at home, calibrate your printer. 

For years, I have relied upon the color calibration system offered by Data Color. I am currently using an older version (Spyder 3).  Data Color is now on to Spyder 4 Elite. Not only can I  calibrate my monitor, I make a color profiles for the print mediums I use. I also use their spider cube to give me accurate color when I bounce my flash on location.

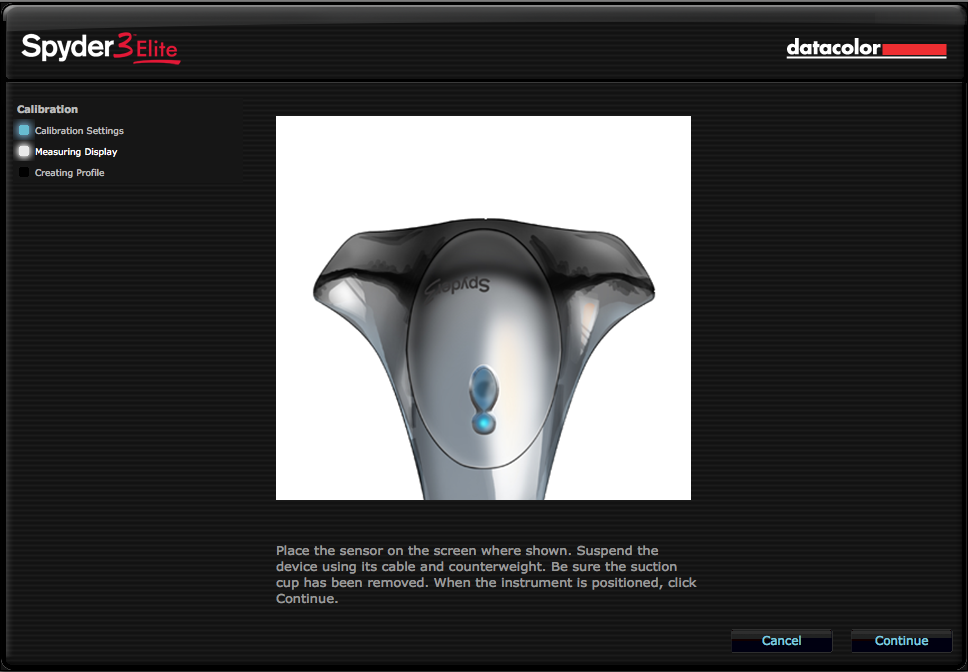
Calibrating your monitor could not be easier, step by step instructions on screen, guides you thru the process.  It even reminds me when it is time to re-calibrate.  I personally do not make many prints at home, however I have accurate color prints after building color profiles for the papers I print on.

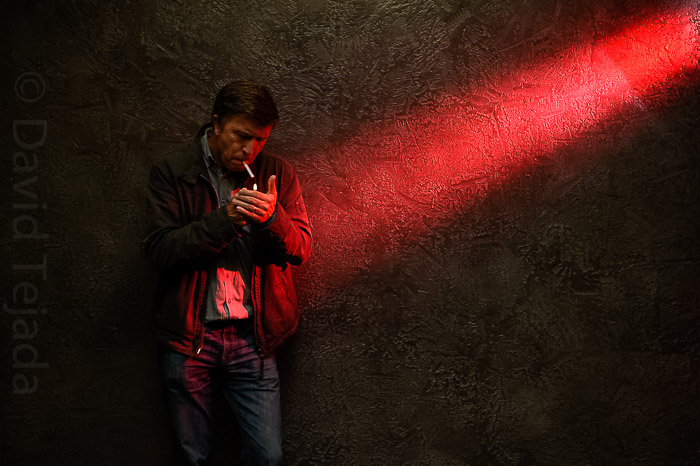
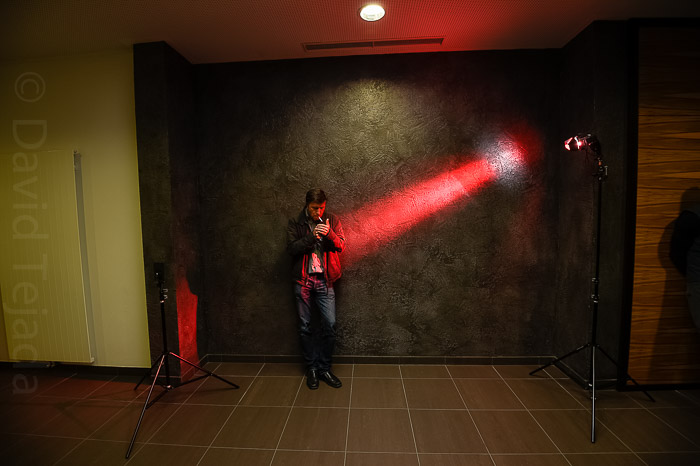
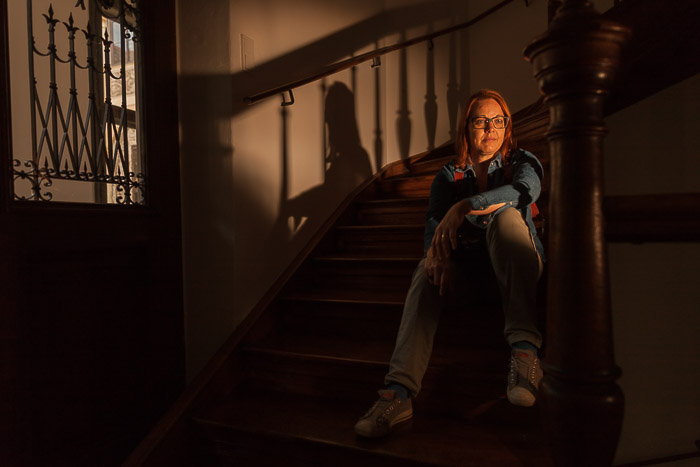
For those of you that are regular readers of my blog, you know I really like the look of a good bounce technique.  One of the problems we encounter as photographer when bouncing our lights is color cast.  Not every wall or surface we bounce off of is white in color and as you know, our flash will pick up that color when bouncing our flash.

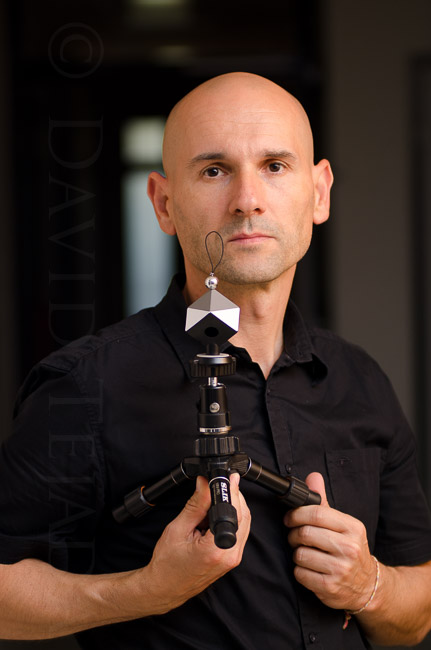
This little Spyder Cube provides me a way of insuring accurate color when bouncing my lights, the cube has several surfaces for reference. Digital gray (equal amounts of RGB), white, black and a metallic ball for specular highlights.  One really nice addition on this cube is a drilled out hole in the bottom, I use this to insure a pure black when processing my images.

If you are new to color calibration, take a look at Data Color.  They have a great website with tons of information to help you.

Wednesday 09.24.14
Posted by David Tejada
 

Kristina 2 A Nice Bounce Technique

Continuing with my Kristina shoot of last week, I wanted to show you a quick bounce technique.  As many of my readers know, bounce is one of my favorite modifiers.  Yes, bounce is a modifier! Let's take a look at this photo.

Data on the file tells me that my exposure was ISO 400, f/2.8 @ 1/60 second.  The ambient light in the background was underexposed by about 3 stops. The main light is a single SB-800 bounced into the hallway to the right of Kristina.  The set up shot shown below as a reference.

If you have any questions regarding this photograph or about anything else, just let me know.  I might also mention that I will be teaching a few up coming workshops.

I'll be teaching a Mentor Series Trek to Croatia & Venice on February 4-14th, 2015, and a Santa Fe Photographic Workshop "Small Strobes, Big Results" March 8-13, 2015.

Friday 09.12.14
Posted by David Tejada
Comments: 1
 

Kristina - Glamour Light

I had the pleasure of photographing a very talented and beautiful up and coming model in the Denver market last week. She is looking for representation, if you can help please let me know. We spent the full day shooting in the studio and around my home.  This photo is a pretty classic lighting situation, one overhead softbox and another lower and in front of the subject.  The lower light is not quite as strong as the overhead light, acting more as a fill +.  The warm light dotting the background are just some Christmas lights strung up on a background stand.  I also used two Rouge Grids with CTO gels on them for hair and rim lights.  The set up shot is below.

Here is another from this set up.  I'll post a few more at a later date. Enjoy.  DT

Monday 09.08.14
Posted by David Tejada
Comments: 1
 

European Tour 2014

I'm pleased to announce my 5th European tour for Small Strobes, Big Results. I'll be teaching in Austria and Switzerland. I'll be in Puchberg/Wels, Austria on Oct. 5th & 6th, Innsbruck, Austria on the 8th & 9th, Dornbirn, Austria on 10th - 12th, Zurich, Switzerland on the 13th & 14th, and Graz, Austria 17th. For more information and registration, contact my friend and business partner Eric Krugl at office@kruegl.at

I hope we have the same plane as last year!

Tuesday 09.02.14
Posted by David Tejada
Comments: 1
 
Newer / Older

Powered by Squarespace.