• Portfolio
  • Blog
  • Travel
    • Russia/Estonia
    • Istanbul
    • Hong Kong
    • India
    • Morocco
    • Thailand
    • Italy
    • Vietnam
    • Spain/Portugal
    • Egypt
    • United Arab Emirates
    • Ireland
    • Myanmar
    • Croatia
    • Mauthausen Concentration Camp
  • Headshots
  • Fine Art Prints
  • New Work
  • About
  • Instagram
  • Contact
Assignment Photography for Corporate America
  • Portfolio
  • Blog
  • Travel
    • Russia/Estonia
    • Istanbul
    • Hong Kong
    • India
    • Morocco
    • Thailand
    • Italy
    • Vietnam
    • Spain/Portugal
    • Egypt
    • United Arab Emirates
    • Ireland
    • Myanmar
    • Croatia
    • Mauthausen Concentration Camp
  • Headshots
  • Fine Art Prints
  • New Work
  • About
  • Instagram
  • Contact

Nodal Ninja 3 MKII

I have a brand new Nodal Ninja 3 MKII for sell.  B&H Photo has this unit for sale at a price of $210.00.  I am willing to let this go for $160.00 to the first lucky person to contact me.  Just email me.
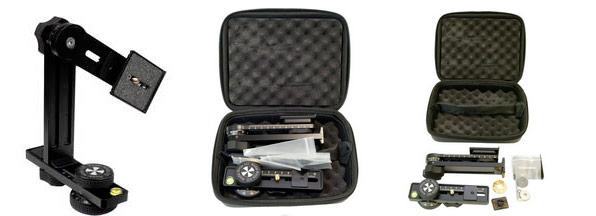
 

This award-winning NN3 MKII Starter Package from Nodal Ninja makes it possible for you to produce high resolution single row or multi-row panoramic photos using your point-and-shoot digital camera or lightweight DSLR. This package includes the smallest panoramic tripod head on the market (it weighs just 1.04 lb), detent rings, camera plate, detent ring rotator and a hard-shelled carry case.

The NN3 MKII is compatible with most point-and-shoot digital cameras, and you have full rotation UP with many cameras and wide-angle lenses. The lower rotator design features a tension knob without an inner lock screw, so you can adjust the tension very easily by just tightening the knob. The "standard" rotator uses reversible brass detent rings that give the sound and feel of click stops. Having these different click stops allows the user to select how many degrees of rotation between shots. Optional detent rings (available separately) offer the following number of click stops to form a 360 degrees = 3, 4, 5, 6, 7, 8, 10, 14, 15, 18, 20, & 24 stops.

Precision detent rings, a ball-bearing detent plunger, and a precision click ball that replaces the detent pin provide greater precision, smooth rotation and click stops, and decreased wear. You can also mount your camera in either landscape (horizontal) or portrait (vertical) orientation. Add one-knob adjustable resistance for horizontal panning, and the process of producing a panoramic photo becomes a walk in the park for real estate photographers, hikers, and travelers.

The smallest panoramic tripod head on the market today
FULL rotation UP with many cameras and wide angle lenses
Fits almost all point and shoot cameras from ultra compact to compact and many smaller DSLR's using smaller lenses
Lower rotator design enhancements include a new tension knob without an inner lock screw--tension is easily adjusted by simply tightening the knob
Ball bearing detent plunger is incorporated in the MKII rotator for smooth rotation and click stops
New precision click ball replaces detent pin--this allows for a more positive feel and decreased wear
Precision CNC-machined detent rings for better precision
Improved detent ring retention mechanism for easy change of detent ring
Rubberized metal knurled knobs--this not only allows for a better gripping but also creates a better feel and enhanced look
Reversible detent rings offer click stops at varying degrees
Easy one-knob adjustable resistance for horizontal panning
Tuesday 01.14.14
Posted by David Tejada
 

High Speed Sync

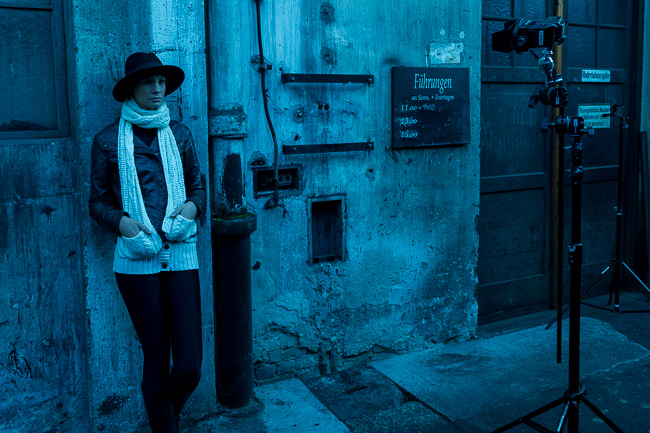
My Austrian friend Eric turned me on to this interesting fact. If you use a RadioPopper JRx receiver and a RadioPopper PX Transmitter together, you can get high speed sync.  The photo above was shot with the following settings. Nikon D800, ISO 100, 24mm, 1/5000, f/2.8. I am able to get high speed sync using my Lumedyne strobes as well as my new FalconEyes SG-100.

I pick up this FalconEyes SG-100 flash while teaching in Europe last month. You can see a complete review on this product HERE.

Here is the lighting set up for the photo at the top of the page. The battery for the FalconEyes SG-100 has two Sony batteries inside the black box.  It gives you a lot of pops.

You can see the RadioPopper Jrx hooked up to the FalconEyes SG-100.  This flash is not as powerful as my Lumedynes, I was able to get high speed sync with the Lumedynes up to 1/8000.  When my power setting on the Lumedyne was full power, 800ws.  At 1/8000 of a second at 800ws I notice a very, very slight shading at the bottom of the frame.

Tuesday 11.19.13
Posted by David Tejada
Comments: 3
 

Thailand Mentor Series Trek

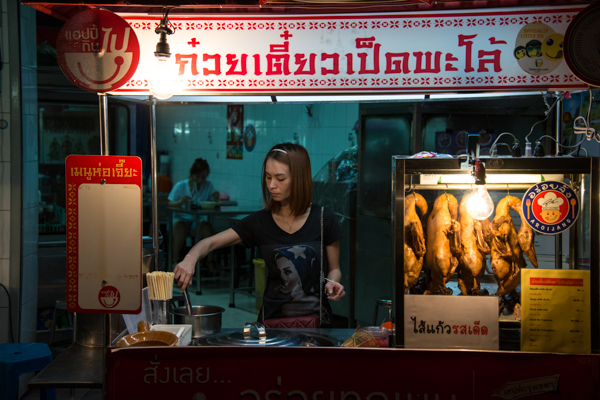
I'm currently on my Mentor Series Trek to Thailand.  I've been in Thailand a few days now busy working with students. We're leaving Bangkok this morning for a flight to Chiang Rai. We'll be way north near the Myanmar and Laos boarder photographing a tea plantation. We'll also be photographing the Akha hill tribe at on of many Akha villages in northern Thailand. Looking forward to it. Here is a photo from last nights walk in China Town and the floating market of Damnoan Saduak.

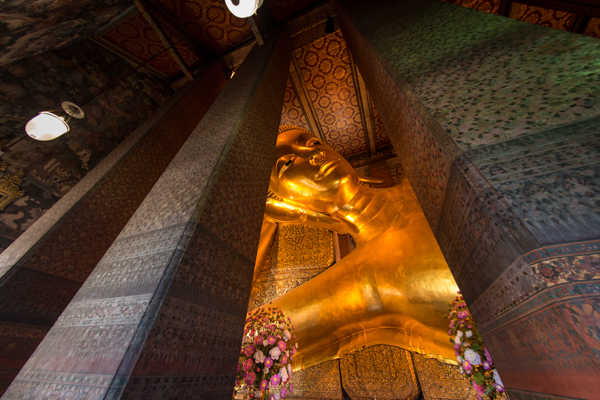
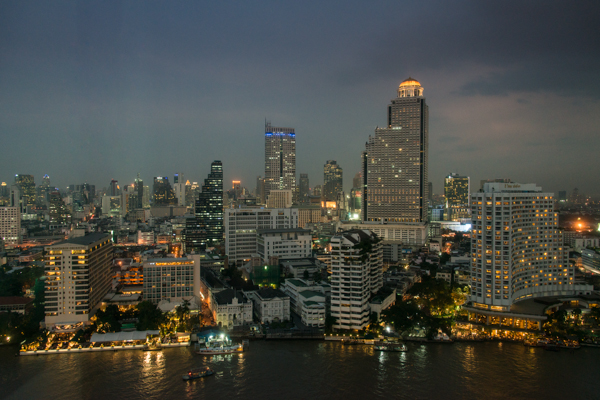
Here are a few more images from in and around Bangkok.


Sunday 11.03.13
Posted by David Tejada
 

Final Thoughts

I've been home from Austria for a few days now, trying to catch up on some needed sleep.  I've had some time to think about my trip to Austria and the new friends I've made.  I want to thank all the SSBR participants for attending the workshops, 40% of this years attendees were repeat participants. Thank you.

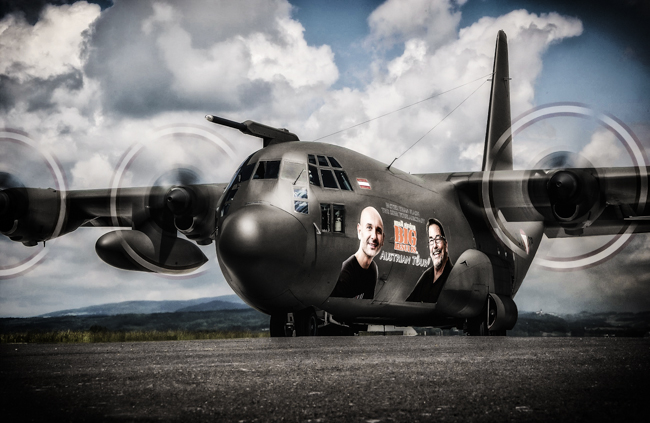
I want to extend a very special thanks to my best friend and business partner who made all of this possible, Eric Krugl.  You can't believe how much work and preparation is needed to such a tour together.  Thank you Eric for all your hard work and friendship.  I especially liked the transportation you arranged for the tour this year.  I would have been happy with some sort of "Flash Bus", but now that I have experienced the comfort of our own plane... There is no going back!

I look forward to visiting next year with some new workshops and I hope to visit with all of you again.  Eric, your the best, thank you again for everything!

Saturday 10.26.13
Posted by David Tejada
 

Graz "Lebring" Workshop

Thank you PixelMaker "Robert Sommerauer" for being our host at the last workshop for this season in Austria. What a fantastic tour it has been.  The workshop shop was held in Lebring, Austria which is just outside of Graz. Graz is the second largest city in Austria.

This was a two day workshop, the first day involved the theory aspects of light and my approach to crafting an image using flash. The second day was spent on location with students shooting at a wonderful castle applying what they learned.  I would run around the castle helping solve students lighting issues or problem the encountered.

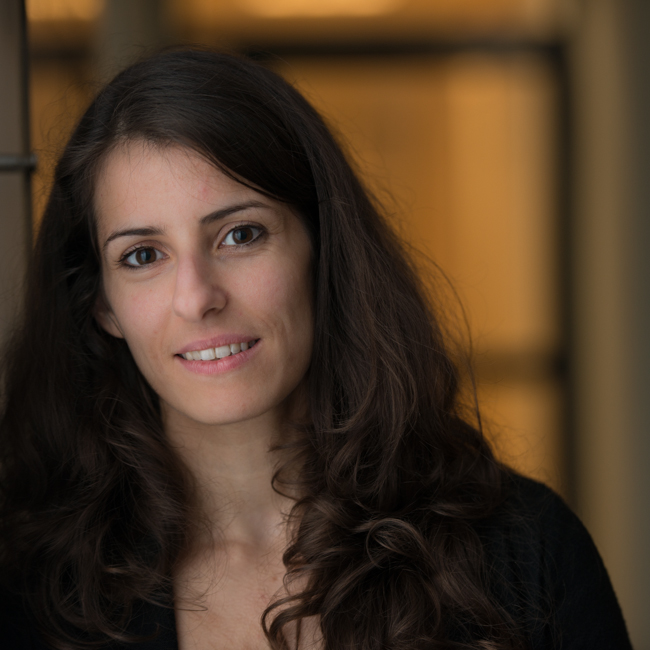
This is Eva, she's a fabulous photographer in Vienna and a return student to the workshops.  Eva attended one of my workshops 2 years ago in Linz, actually about 40% of the students attending this year were returning students!  I was very honored to have so many returning to the workshops, it's fun to visit with former student and hear how the first workshop helped them.

The photo of Eva was created with my Ripstop nylon taped to a glass door.  Here is the set up.

In this next photo, I placed a strobe outside of a window with a full CTO gel in order to simulate late afternoon light.

In the photo below you will see the effect of slowing or "dragging" the shutter to include more ambient light. The from left to right, the shutter speeds are 1/250, 1/125, 1/60 and 1/30. As you drag the shutter, the shadows open and produce a less contrast image.

After dinner the first night I demonstrated the use of a ring flash to open up shadows. The lighting of this photo below was a grid as my key "main" light, another grid with CTO as my hair or separation light, another light on the background and a "Round Flash" ring light on the camera.

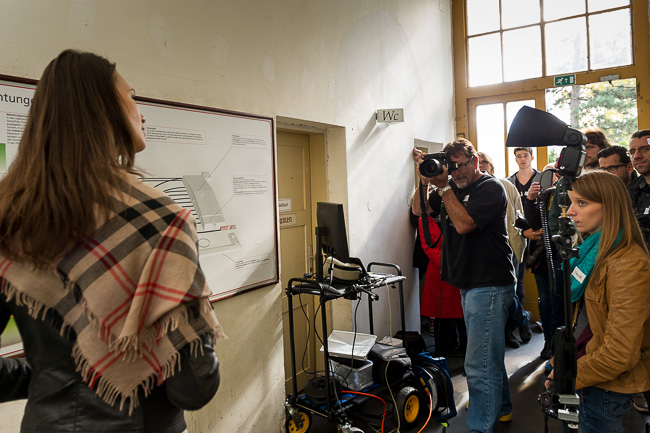
Here are some of the students work as well as the activity on location during our shoot at the castle.


Thanks to everyone for attending this workshop, and once again a very special thank you my good friend Eric Krugl!

Tuesday 10.22.13
Posted by David Tejada
 

Vienna Nikon NPS Workshop

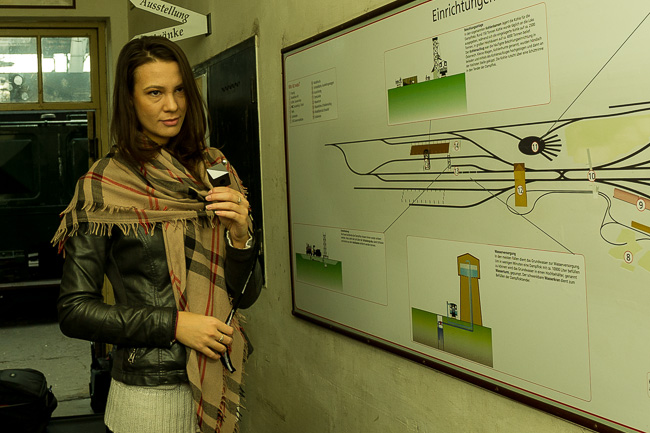
 Wow! I've been here in Austria for a few weeks now, and have just completed my Nikon NPS workshop near Vienna.  We were in the small town of Strasshof shooting at a train museum, what a great place to shoot. Let's take a look at a few images from earlier today.

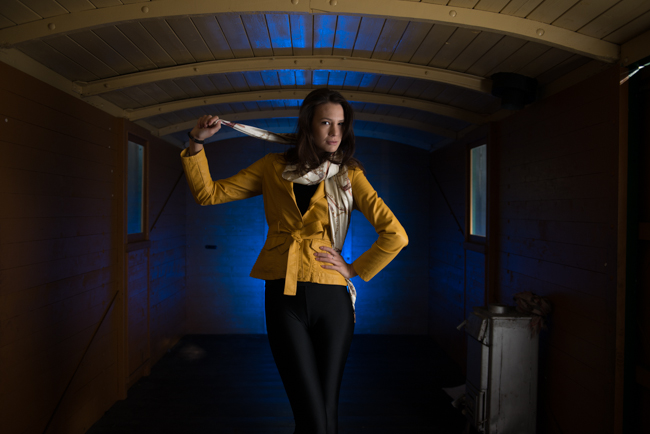
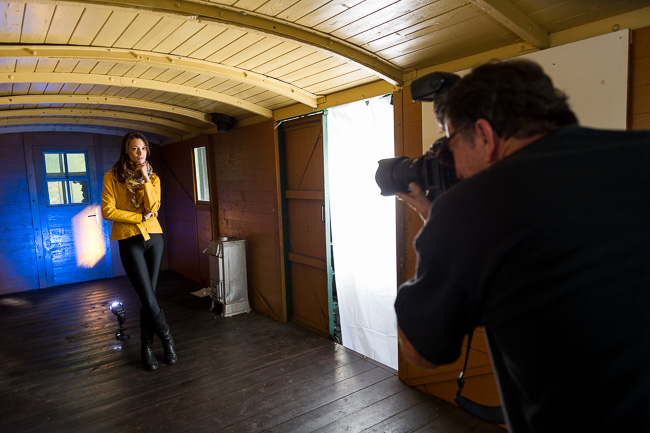
This was our fabulous model Aleksandra, I used the interior of a train car for the setting. I taped my ripstop nylon to the side door of the car and shot my flash thru the fabric.  This created a beautiful soft light as it was a very big modifier.

Here is the set up for this photograph.

You can also see an SB-800 placed on the floor to add color to the background.  You will also notice some spill from the flash outside projecting light on the back wall... this was corrected, of course.

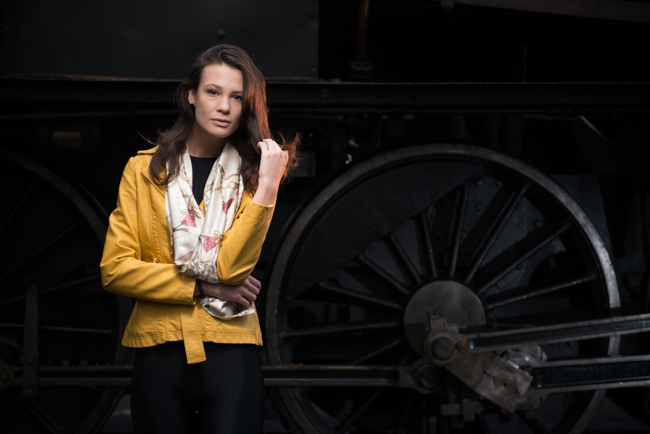
Here I'm showing a quick bounce technique, when bouncing you need to watch out for un wanted color casts coming from the bounce surface.  We had a bit of shift in color, we believe it must have come from the lower layer of paint under the thin white painted surface?  Using a DataColor Spider Cube solved that problem with a click of a mouse.

Here is the set up for the photo above.  Small softbox overhead, rim light placed right side to the rear and one additional flash to open the dark wheel of the train engine.

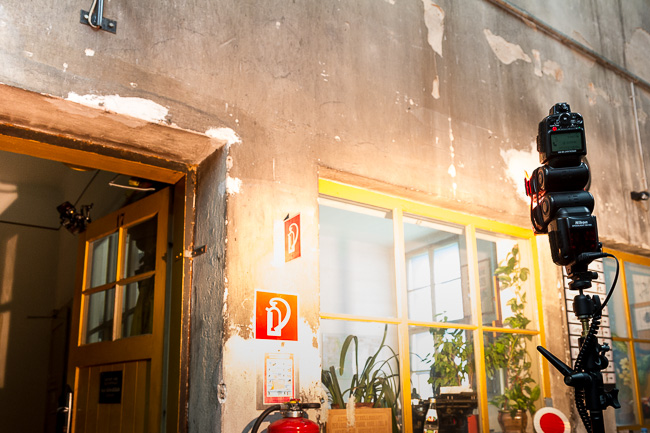
How about some warm late afternoon sunlight.  We had Aleksandra stand at the desk in the old station building.  I aimed two SB-900's thru the window with CTO gels over the flash tubes.  I also place on SB-900 with a set of barn doors outside where I was positioned to open a little more information.

You will notice that I have two flashed strapped together trying to make my light appear as one light source.  Placing two lights side by side will create double shadows.

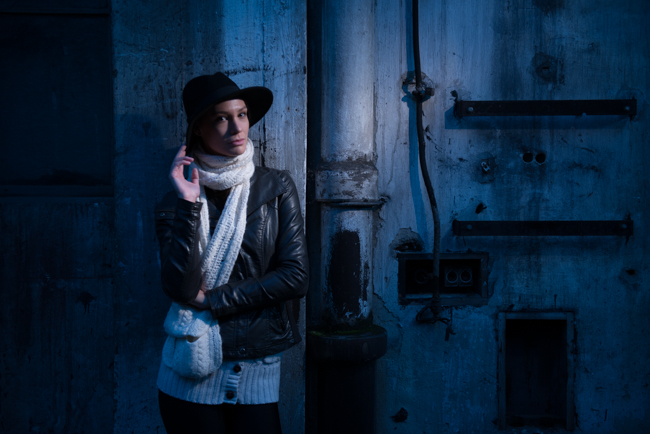
Here is the last shot of the day.  Aleksandra positioned herself near this great looking wall.  I started off using a set of barn doors to light the scene but ended up, just zooming the flash head to 200mm.  The shift in color cast was created via a WB of tungsten and the flash was fitted with a full CTO gel.

I'm off to Graz, Austria tomorrow for a two day workshop.... see you there.  DT

Friday 10.18.13
Posted by David Tejada
 
Newer / Older

Powered by Squarespace.